What to Measure before Changing Germicidal UV Lamp
The expensive mistake is to change hardware before the job has a measurable definition. Start with the workpiece, the acceptance test and the operating envelope. That keeps the investigation narrow enough to learn from.
Define the Endpoint
State the required validated UV delivery with controlled human exposure, the location where it matters and the test that decides acceptance. Do not substitute a visible surface change for the actual requirement.
Run the Work in Order
- Record material, geometry and starting condition.
- Verify guards, exhaust or ventilation, cooling and stop logic.
- Establish the current baseline for wavelength, irradiance, dose proxy, operating state and system result.
- Apply one bounded change to germicidal UV lamp.
- Test the work with the agreed acceptance method.
- Save the recipe, evidence and exception notes.
Release Gate
Use representative material, a defined start condition and the real acceptance method. Establish a baseline, change one controlled variable, measure the result at more than one location and retain rejected as well as accepted samples. Lamp operation or visible glow is not proof of disinfection performance.
Where the Product Record Fits
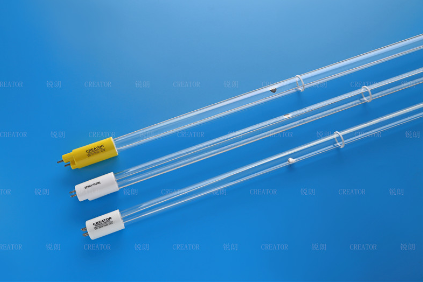
The current Goldisgood record describes a double-ended, two-pin UV germicidal lamp family documented for air, water and aquarium disinfection. That makes it a candidate to review only after the required wavelength, irradiance, dose proxy, operating state and system result and mechanical/electrical interfaces are written down. Compare the documented record at Goldisgood double-ended germicidal lamp record, then qualify the installed result on representative work. The catalogue is evidence of an available product family; it is not proof of suitability for this task.
Related Articles
- How to Run A Controlled UV-C Disinfection Lamp Integration Trial
- How UV Transmittance, Distance, Flow, Fouling, Aging and Geometry Changes UV-C Disinfection Lamp Integration